 Log in
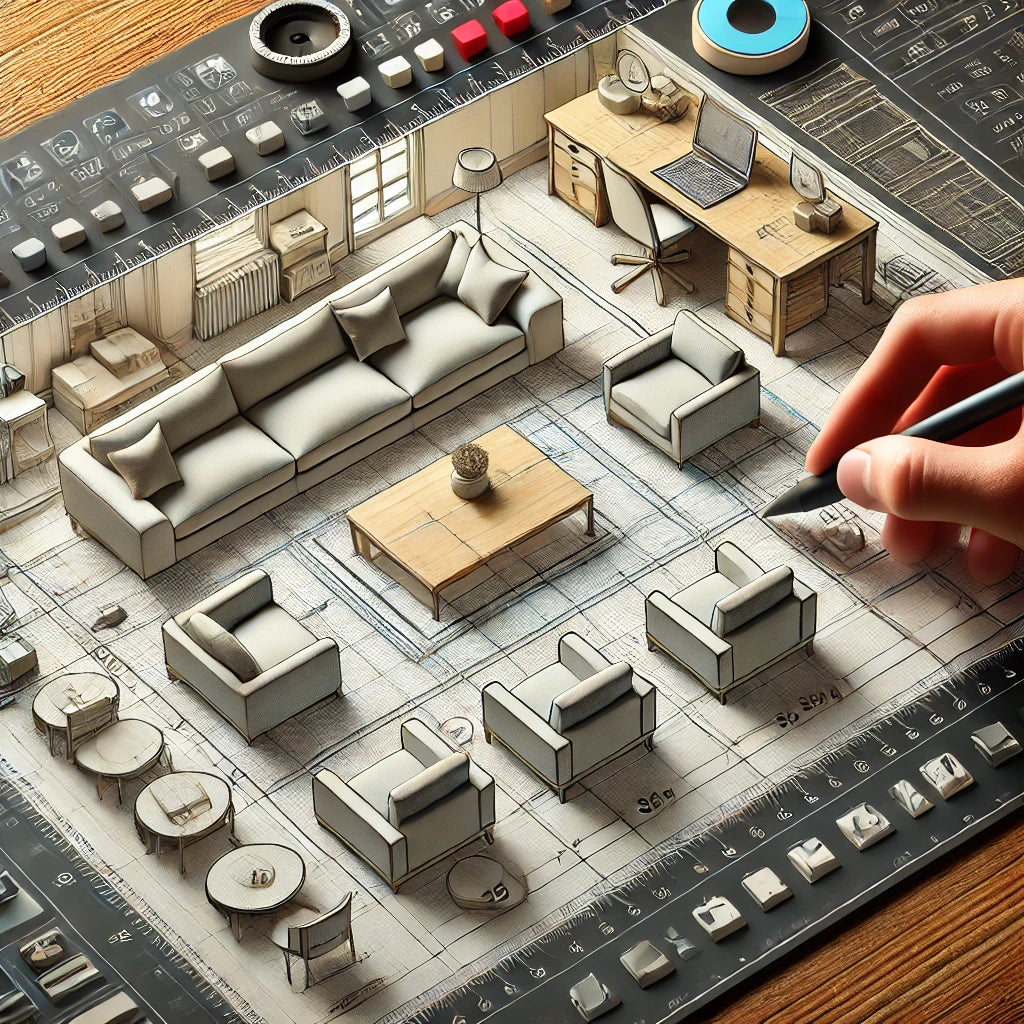
How to Put Sofas and Chairs in AutoCAD: A Step-by-Step Guide for Designing Furniture Layouts
AutoCAD is a powerful design and drafting tool used by architects, interior designers, and furniture professionals to create detailed floor plans and 3D models. For GKW Retail, incorporating sofas and chairs into AutoCAD drawings helps showcase furniture arrangements, visualize room layouts, and enhance customer experiences with precise designs. Whether you’re an industry professional or a DIY enthusiast, this guide will walk you through the process of placing sofas and chairs in AutoCAD.
Why Use AutoCAD for Furniture Layouts?
AutoCAD offers precision, flexibility, and the ability to create detailed 2D and 3D drawings. This makes it an ideal tool for visualizing furniture placement, planning space utilization, and communicating design ideas effectively. Here’s how you can place sofas and chairs in AutoCAD to create functional and aesthetically pleasing layouts.
Step-by-Step Guide to Placing Sofas and Chairs in AutoCAD
-
Open a New or Existing Drawing
- Launch AutoCAD: Start by opening AutoCAD on your computer. If you’re working with a specific room layout, open the existing drawing file. Alternatively, create a new drawing to start from scratch.
-
Set Units and Scale: Ensure the units and scale are correctly set for your drawing. Use the
UNITScommand to select metric (millimeters, centimeters) or imperial (inches, feet) units based on your requirements.
-
Create or Import a Floor Plan
-
Draw the Room Outline: If you’re designing a room layout, use the
LINEandRECTANGLEcommands to create walls, doors, windows, and other structural elements. -
Use Existing Floor Plans: If you have an existing floor plan, import it into AutoCAD by using the
INSERTcommand or theXREFcommand to reference external files.
-
Draw the Room Outline: If you’re designing a room layout, use the
-
Access Furniture Blocks or Draw Custom Furniture
-
Use Pre-Made Blocks: AutoCAD allows you to use blocks, which are reusable symbols representing objects like sofas and chairs. Many blocks are available online or within AutoCAD libraries. To access them:
- Use the
INSERTcommand and browse for furniture blocks. - Search for “sofa” or “chair” in your block library, or download compatible blocks from trusted sources.
- Use the
-
Draw Custom Furniture Shapes (Optional): If you prefer to create your own sofa or chair design, use basic drawing tools like
LINE,CIRCLE, andPOLYLINE. Combine these shapes to create a 2D representation of the furniture.
-
Use Pre-Made Blocks: AutoCAD allows you to use blocks, which are reusable symbols representing objects like sofas and chairs. Many blocks are available online or within AutoCAD libraries. To access them:
-
Place the Sofa and Chair Blocks in the Drawing
- Select the Block: Once you’ve chosen a sofa or chair block, click on it to select it.
-
Insert the Block: Use the
INSERTcommand or drag and drop the block into the drawing area. You can specify the insertion point, rotation, and scale during placement. -
Adjust the Position: Use the
MOVEcommand to reposition the sofa or chair to the desired location within the room layout.
-
Scale and Rotate the Furniture as Needed
-
Scale the Block: If the sofa or chair block needs to be resized, use the
SCALEcommand. Select the block, specify a base point, and enter the scaling factor. -
Rotate the Block: Use the
ROTATEcommand to adjust the orientation of the sofa or chair. Select the block, specify a base point, and enter the rotation angle.
-
Scale the Block: If the sofa or chair block needs to be resized, use the
-
Align Furniture for Optimal Layouts
-
Use the
ALIGNCommand: This command allows you to align multiple furniture pieces precisely. Select the objects you want to align, specify source and destination points, and align them accordingly. -
Ensure Adequate Spacing: Leave enough space between sofas, chairs, and other furniture elements for easy movement and functionality. Use AutoCAD’s measuring tools (
DISTcommand) to check distances.
-
Use the
-
Add Annotations and Dimensions (Optional)
-
Label Furniture Pieces: Use the
TEXTcommand to add labels or descriptions to each sofa and chair, indicating their dimensions or specifications. -
Dimension the Layout: Use the
DIMcommand to add dimensions to your layout, making it easier to understand the spacing and furniture placement.
-
Label Furniture Pieces: Use the
-
View and Adjust in 3D (Optional)
-
Switch to a 3D View: If you want to visualize your layout in 3D, switch to a 3D view by using the
VIEWcommand or clicking on predefined 3D views in the ViewCube. -
Extrude Furniture Shapes (If Created Manually): Use the
EXTRUDEcommand to add depth to 2D shapes, creating 3D models of sofas and chairs. -
Orbit and Adjust the View: Use the
ORBITcommand to navigate around the 3D space and view the arrangement from different angles.
-
Switch to a 3D View: If you want to visualize your layout in 3D, switch to a 3D view by using the
-
Save and Export Your Drawing
-
Save the File: Use the
SAVEorSAVEAScommand to save your drawing. -
Export as a PDF (Optional): If you need to share your layout, you can export the drawing as a PDF using the
EXPORTcommand.
-
Save the File: Use the
Tips for Placing Sofas and Chairs in AutoCAD
- Use Layer Management: Organize your drawing by placing furniture on separate layers, making it easier to hide, lock, or isolate elements as needed.
- Explore Different Layouts: Experiment with various furniture arrangements to find the optimal layout for your space.
- Reference Real Measurements: Ensure that all furniture dimensions in AutoCAD reflect real-life measurements for accurate visualization.
Explore GKW Retail’s Furniture Solutions
At GKW Retail, we offer a wide range of high-quality sofas and chairs designed to enhance any space. Whether you’re using AutoCAD to plan your next renovation or simply exploring design ideas, our collection provides stylish and comfortable options to bring your vision to life. Visit shop.gkwretail.com to explore our furniture offerings.
Conclusion
Placing sofas and chairs in AutoCAD is a valuable skill for visualizing furniture layouts and optimizing space. By following these steps, you can create precise and functional designs that reflect your style and needs. Trust GKW Retail to inspire your furniture designs with our high-quality offerings.